How to Install NetData on Digitalocean with Ubuntu 16.04 and 14.04
Netadata is Monitoring Tool for Linux Systems Help us Monitor the Server performance and Usage.
In this tutorial, we are going to see about How to Install Netdata on Digitalocean with Ubuntu.
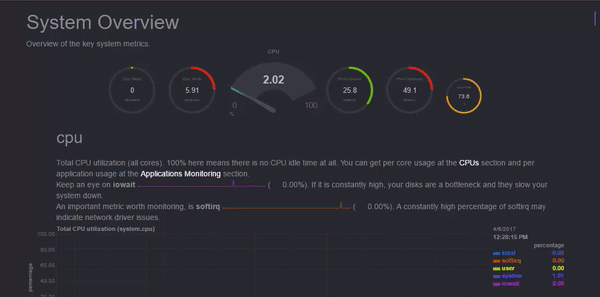
it helps us Monitor the performance of our DO Droplet in Realtime
We can monitor
- CPC
- RAM
- DiskSpace
- Server Health
- Bandwidth
- And More
Here is the method to install Netdata on Digitalocean with Ubuntu
- Login to your DO Droplet Via SSH
- Prepare your Droplet for Netdata Installation
sudo apt install zlib1g-dev uuid-dev libmnl-dev gcc make git autoconf autogen automake pkg-config curl jq nodejs -y
- Now clone Netdata repository from Github
cd ~ git clone https://github.com/firehol/netdata.git --depth=1
- Now open Netdata folder and Run the Netdata Real Monitoring Installer Script
cd netdata sudo ./netdata-installer.sh
- After running this Command you will get this Output
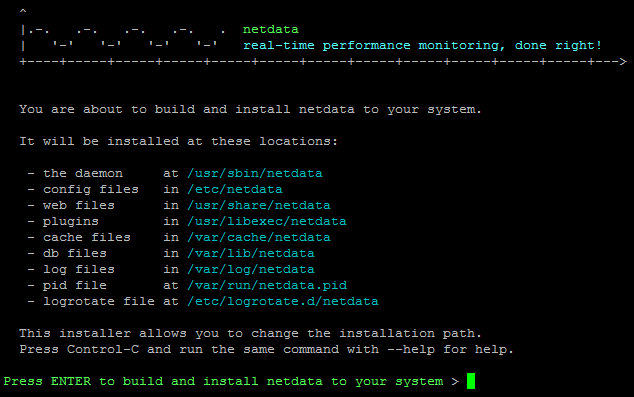
- Click “Enter” to Continue the Installation
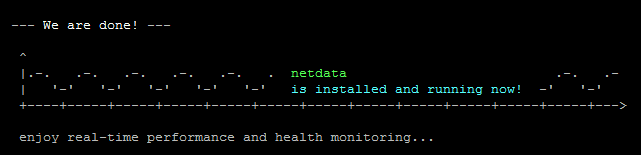
- That’s all successfully we installed the Netdata on Digitalocean
Note: if you facing “ERR_CONNECTION_TIMED_OUT” Port block issue run this below command
sudo ufw allow 19999
Now just open Netdata Monitor like this http://your_IP_or_sitelink.com:19999
Stop the NetData
sudo service netdata stop
Start the NetData
sudo service netdata start
Update NetData Monitor Tool
Before Updating Stop the NetData and Run the Installer command
sudo service netdata stop
cd ~/netdata git pull sudo ./netdata-installer.sh
- Restart the service
sudo service netdata start
Uninstall NetData
cd netdata
sudo ./netdata-uninstaller.sh --force
From the Editors Desk
We Personally request you to Password protect the NetData Directory Here is the official Guide for Apache and Nginx