How to Install WordPress Plugin SVN repository on Ubuntu for Manage the Plugins
in this tutorial, we are going to see the methods to Install WordPress plugin Svn repository on Ubuntu.
Previously I used Windows 10 For Windows we can use Tortoise SVN Software to Manage our WordPress plugin from Windows.
Recently I moved to Ubuntu.I try some SVN Softwares but I am not Satisfy with them
So I decided to use Ubuntu SVN Client Manager for Manage My WordPress plugin
Here are Steps to Install WordPress Plugin SVN on Ubuntu to Manage our own WordPress plugin
Features
- SVN Checkout
- Commit Update
- Add
- Delete
- Fetch updates
How to Install WordPress plugin Svn repository on Ubuntu?
- Install the Subversion on Ubuntu
sudo apt-get install subversion
- Now create a Folder For Checkout and Manage your WordPress plugin
- Example: I create a Folder WordPress and I check out my all plugins on WordPress Folder
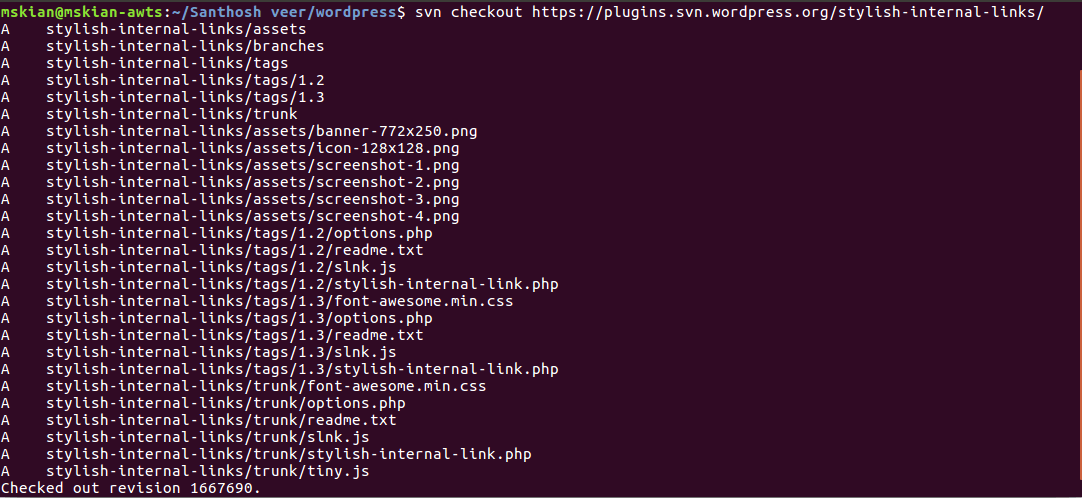
- check out your WordPress plugin SVN repository on that folder
svn checkout https://plugins.svn.wordpress.org/stylish-internal-links/tags/
- Replace my WordPress SVN link with your Plugin SVN Link
- Now I am Going to made some Changes on My plugin “Stylish Internal Links‘ and Commit Update to WordPress Plugin repository
- If you made any changes on your plugin use this below command line to find the Modified Plugin Files
svn status

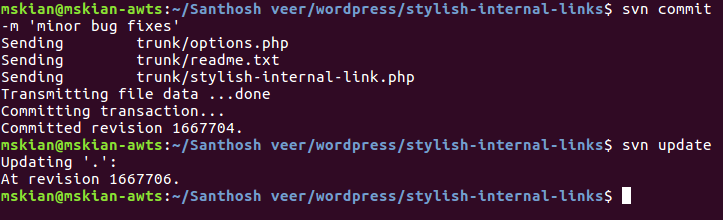
- Now Commit the New Version Update to our WordPress Plugin
svn commit -m 'What changes made in your Plugin'
Example: svn commit -m ‘minor Bug Fixes’
- For the First time, It will ask to Connect our WordPress.org account for verification
- After your New Plugin Version Commit – Update Plugin SVN repository by running this below command line
- this will Fetch and update the changes on your Plugin SVN repository
svn update
- Output Getting Plugin Update 🙂 (Previous Version 1.4 and New version 1.5)

- That’s all Successfully we check out our Plugin SVN and Commit the New Update for Our WordPress plugin from Ubuntu
Add Files and Backup
if you want to Add your Previous version on tag folder Just copy and paste the previous files on the tags folder
Note: Create a Folder for them example My plugin Previous version is 1.4 So I create a Folder Named as 1.4 on tags folder.
Run this below Command line to add your previous version on tags Folder
svn add tags/1.4
Other Command Lines
Here are the Command lines to Add and Delete Files on SVN
- Command line for add files on SVN repository
svn add FOLDERNAME/FILENAME
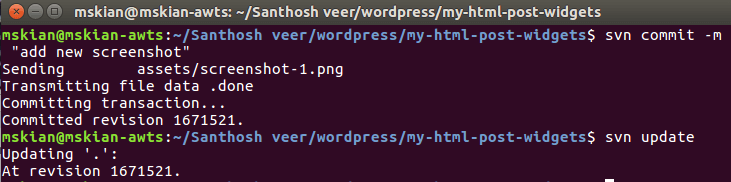
- After adding the Files to SVN Folder Just Commit and Update your SVN repository
- Command line for delete the Files and Folders from SVN repository
svn delete FOLDER
svn delete FOLDERNAME/FILENAME

- If you are Adding or Deleting files from SVN repository Commit your Changes
svn commit -m "delete old backup files"

- update our SVN repository After committing
svn update
From the Editor’s Desk
If you Have any Doubts in this Topic Just Drop your Comments here I will Guide you.